Easy Homemade Caramel Sauce: Your 15-Minute, No Thermometer Secret Weapon
Imagine a rich, velvety stream of golden caramel, perfectly sweet with a hint of salt, cascading over your favorite dessert. Now imagine achieving this culinary masterpiece in just 15 minutes, right in your own kitchen, without the need for a fussy candy thermometer. Sound too good to be true? We’re here to tell you it’s not! This guide will empower you to create a truly irresistible homemade caramel sauce that will forever change your perception of store-bought alternatives.
For many, the idea of making caramel from scratch conjures images of scorched sugar, seizing mixtures, and the daunting precision of a candy thermometer. While traditional caramel-making can indeed be an art, this simplified method strips away the intimidation, focusing on clear visual cues and a few fundamental principles. The result? A smooth, luscious, and deeply flavorful sauce that outshines anything you can buy, proving that the best things in life (and in your dessert bowl) are often homemade.
Why Homemade Caramel Sauce Trumps Store-Bought Every Time
Once you experience the true depth of flavor and luxurious texture of homemade caramel sauce, there's simply no going back. The difference is akin to comparing a freshly baked artisan loaf to a mass-produced sliced bread. Here’s why your homemade version will always win:
- Unparalleled Taste: This homemade caramel sauce boasts a deeply rich, complex sweetness, beautifully balanced by just the right touch of salt. It’s a nuanced flavor profile that mass-produced sauces, often laden with artificial flavors and preservatives, simply cannot replicate. You get that authentic, toasty sugar flavor without any chemical aftertaste.
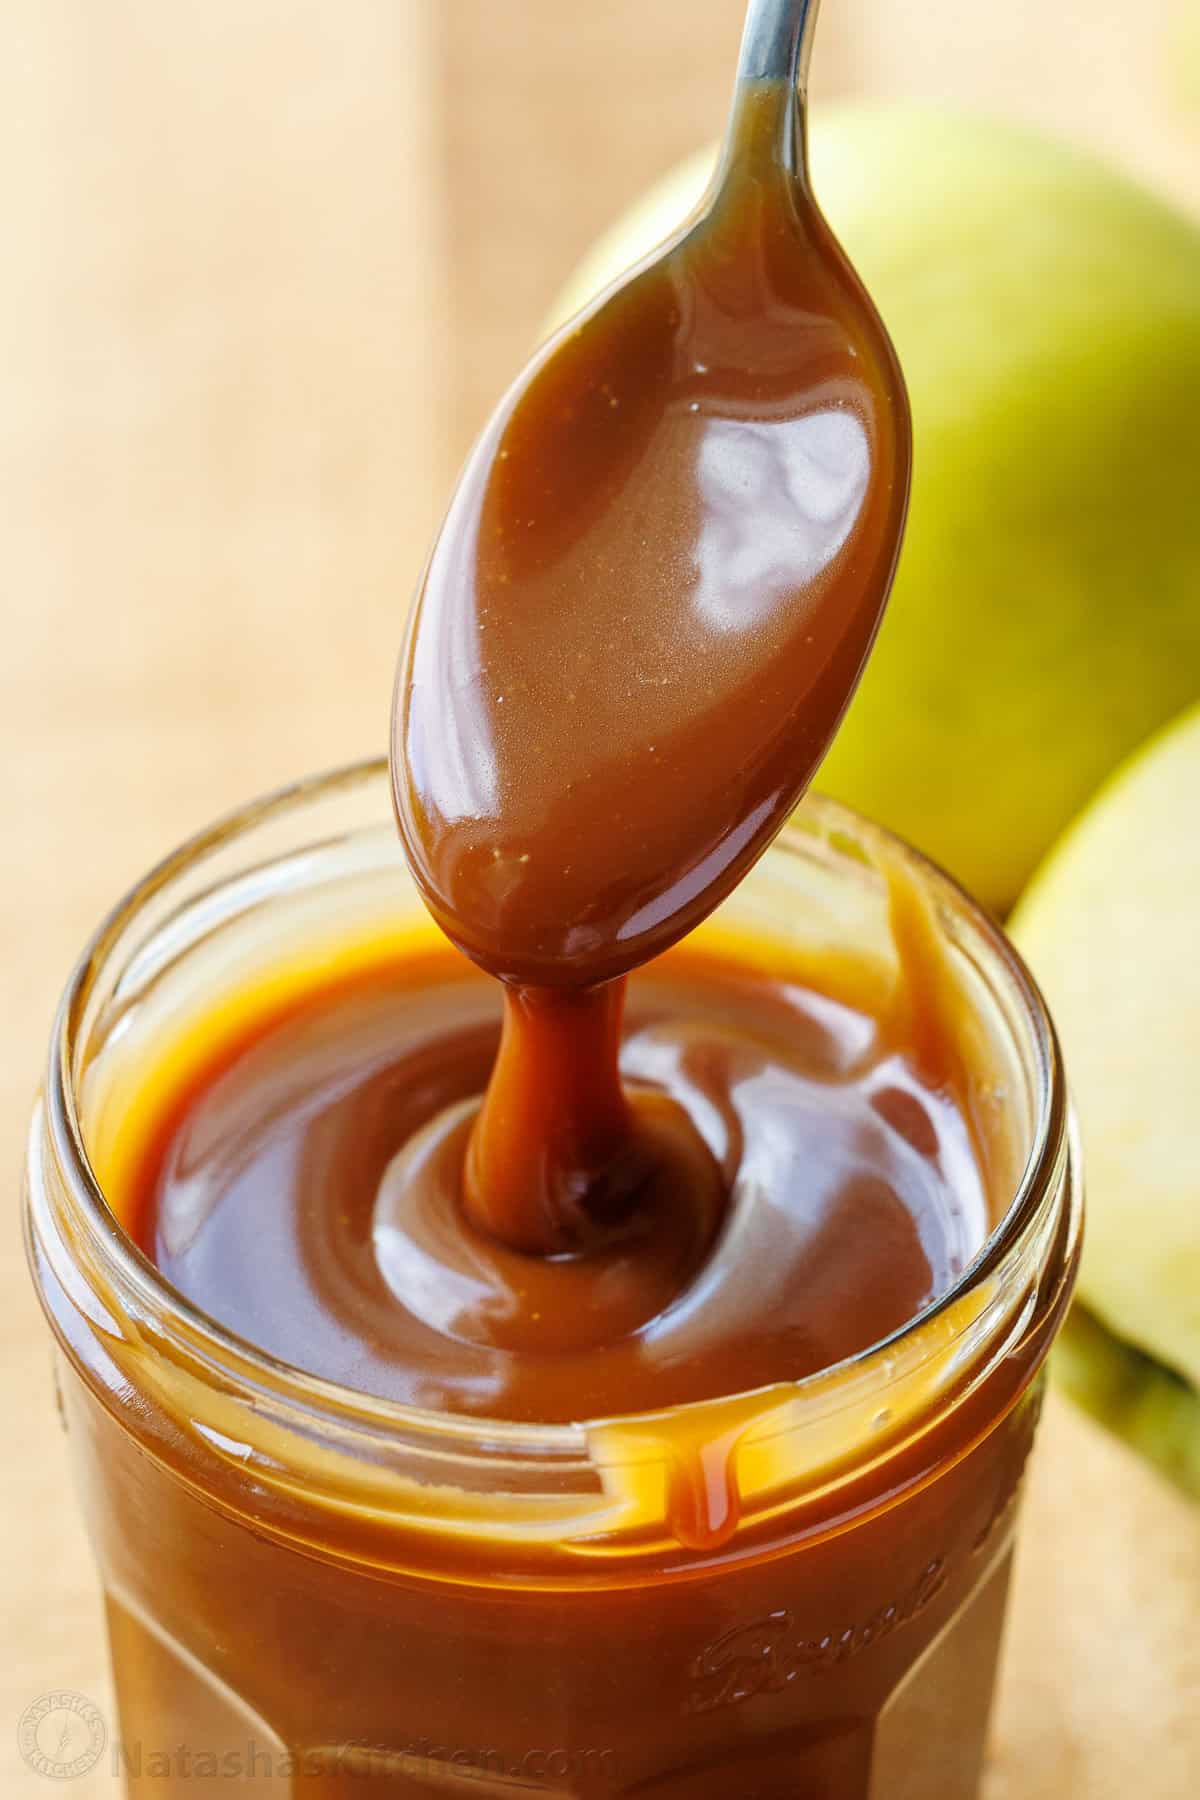
- Luxurious Texture: Forget thin, runny, or overly sticky sauces. Our easy recipe yields a smooth, silky consistency that's just thick enough to lovingly cling to ice cream, apple slices, or any other treat, without immediately running off. Its glossy sheen is a testament to its quality.
- Purity of Ingredients: When you make caramel at home, you control every single ingredient. No high-fructose corn syrup, no artificial colors, no unrecognizable additives. Just four simple, wholesome components come together to create pure deliciousness. This also means you can tailor the salt level precisely to your preference, creating a truly personalized salted caramel.
- Versatility Unleashed: While store-bought options are often limited in their application, your homemade caramel sauce is a culinary chameleon. Drizzle it over pumpkin cheesecake, swirl it into your morning coffee, use it as a dip for fresh fruit, or elevate your hot chocolate. It’s also the perfect topping for sundaes, brownies, or even drizzled over savory dishes like pork loin for a surprising twist.
The rich, buttery notes and complex sweetness of this sauce are truly transformative, making it an essential addition to your kitchen repertoire. Learn how to achieve silky caramel sauce in just 15 minutes, and you'll wonder why you ever bothered with the store-bought variety.
Demystifying Caramel: The No-Thermometer Approach
The biggest hurdle for many home cooks when it comes to caramel is the perceived complexity. Visions of temperamental sugar, precise temperatures, and the dreaded candy thermometer often deter even experienced bakers. This recipe, however, embraces a "dry method" approach that prioritizes visual cues and careful observation over specific temperature readings, making it incredibly approachable.
In culinary school, perfecting caramel can take days, highlighting just how particular the process can be. But fear not! This method simplifies the science. Instead of relying on a thermometer to tell you when the sugar has reached the perfect caramelization point, you’ll learn to identify the tell-tale signs: a beautiful amber color and a toasted, nutty aroma. This gives you more control over the final flavor and color, allowing you to achieve a deeply rich, toasty profile without the stress.
Unlike the "wet method," which introduces water to dissolve the sugar faster (but risks dreaded sugar crystals forming on the sides of the pan), the dry method melts sugar directly. While it requires a vigilant eye to prevent burning, it offers a more predictable path to a flawless, smooth caramel. This step-by-step breakdown ensures that from start to finish, you'll feel confident and in control, resulting in a rich, luscious sauce every single time.
The Sprinkle of Science: Caramelization Explained
At its heart, caramelization is a fascinating chemical process where sugar molecules break down and reform under heat, creating new flavor compounds and that characteristic golden-brown color. When you melt granulated sugar, it undergoes this transformation, evolving from sweet crystals to a complex, slightly bitter, and deeply aromatic liquid. The addition of butter and heavy cream then plays a crucial role: the fat in these ingredients emulsifies with the caramelized sugar, halting the cooking process, adding richness, and creating that signature smooth, pourable sauce texture. The high fat content of heavy cream, in particular, contributes to the sauce's glossy finish and balances the intense sweetness.
Essential Ingredients for Your Perfect Homemade Caramel Sauce
Making exceptional homemade caramel sauce requires just a handful of basic ingredients. The key is to understand the role each plays and to choose quality components for the best results:
- Granulated Sugar: This is the foundation of your caramel. White granulated sugar is preferred for this recipe as it consistently yields the best texture and color. While brown sugar is wonderful for other confections like butterscotch or toffee bits (where its added moisture and molasses notes are welcome), it can make this specific caramel sauce thicker and darker than desired.
- Unsalted Butter: Good quality unsalted butter is crucial. Using unsalted butter gives you complete control over the final salt level in your sauce. Salted butter can vary widely in its salt content, making it difficult to achieve a perfectly balanced flavor. By adding salt separately at the end, you can customize your salted caramel to perfection, or omit it entirely for a sweeter, classic caramel.
- Heavy Cream (or Heavy Whipping Cream): The richness and smooth, pourable texture of your caramel sauce come largely from heavy cream. Its high fat content is essential for creating a stable emulsion with the caramelized sugar and butter. It also helps to balance the intense sweetness, contributing to a glossy, silky-smooth finish that coats beautifully. Do not substitute with lighter creams or milk, as they lack the necessary fat content for this luxurious texture.
- Salt: A pinch of salt is the secret ingredient that truly elevates this caramel. It doesn't just make it "salted caramel"; it balances the sweetness, enhances the butter's richness, and deepens the complex, toasted notes of the caramelized sugar. It makes the sauce taste more sophisticated and utterly addictive. Fine sea salt is generally preferred for its even distribution and clean taste.
Remember, while the list is short, the quality of each ingredient will directly impact the final flavor and texture of your homemade caramel sauce. Opt for fresh, high-quality butter and cream for the most decadent results.
Step-by-Step Success: Crafting Your Easy Homemade Caramel Sauce
With your simple ingredients ready, it’s time to transform them into glorious caramel. This process is about patience and observation:
- Preparation is Key: Before you even turn on the heat, grease the inside sides of a heavy-bottomed saucepan with a little butter. This tiny step can help prevent sugar crystals from forming on the pan's edges. Measure out all your ingredients so they are ready to add quickly once the sugar has caramelized.
- Melt the Sugar: Add your granulated sugar to the heavy-bottomed saucepan. Cook over medium-low heat. This is where patience comes in! The sugar will slowly begin to melt around the edges, forming a clear liquid before gradually turning into an amber color. Resist the urge to stir too much at this stage, as it can encourage crystallization. You can gently swirl the pan if needed to promote even melting.
- Watch for That Golden Hue: Keep a close eye on the sugar. As it melts, it will turn a beautiful amber color, deepening to a rich, dark golden brown. This is your visual cue. You want it to be a bit darker than honey but not burnt. A rich caramel color indicates deep flavor; a lighter color means a milder taste, and a very dark color means it's overcooked and will taste bitter.
- Whisk in the Butter: Once the sugar reaches that perfect amber, immediately remove the pan from the heat. Carefully add the unsalted butter, piece by piece, whisking constantly until it is fully incorporated. The mixture will bubble vigorously and may seize slightly, which is normal. Keep whisking until it's smooth.
- Slowly Add the Cream: With the butter fully melted and incorporated, slowly pour in the heavy cream while continuously whisking. Again, the mixture will bubble up dramatically. Continue whisking until the sauce is smooth and homogeneous. The cream will cool down the mixture, stopping the caramelization process and creating that lovely emulsified sauce.
- Finish with Salt: Whisk in your desired amount of salt. Start with a pinch and taste, adding more until you reach your perfect balance of sweet and salty.
- Cool and Store: Pour the hot caramel sauce into a heat-proof jar or container. As it cools, it will thicken to its ideal silky consistency.
Practical Tips for a Flawless Batch Every Time
- Don't Rush the Heat: Keeping the heat at medium-low is crucial. Rushing the sugar melting process on high heat makes it prone to burning.
- Heavy-Bottomed Pan: A good quality, heavy-bottomed saucepan distributes heat more evenly, preventing hot spots that can cause the sugar to burn in one area while still melting in another.
- Safety First: Hot sugar is extremely hot and can cause severe burns. Be very careful when handling the pan and adding ingredients. Keep children and pets away from the cooking area.
- Storage: Homemade caramel sauce can be stored in an airtight container in the refrigerator for up to 2-3 weeks. It will thicken considerably when cold; simply warm it gently in a microwave or a saucepan over low heat to restore its pourable consistency.
- Troubleshooting: If your caramel seizes up and hardens after adding the cream, don't panic! Simply return it to very low heat and whisk gently, allowing the hardened bits to remelt and become smooth again.
Conclusion
There you have it – the secret to a truly spectacular, easy homemade caramel sauce, achievable in just 15 minutes, no candy thermometer required. This recipe isn't just about making a delicious topping; it's about empowering you to create something extraordinary from simple ingredients, experiencing the joy and satisfaction of a truly homemade treat. The rich, silky texture and deeply complex flavor will undoubtedly elevate your desserts, making every scoop of ice cream or slice of apple an unforgettable experience. So go ahead, grab your saucepan, and unlock the magic of homemade caramel. Your taste buds will thank you!
